Friday, December 31, 2010

2010 Year in Review

Tomorrow brings a new year with a bunch of new projects....so here is a recap from 2010.

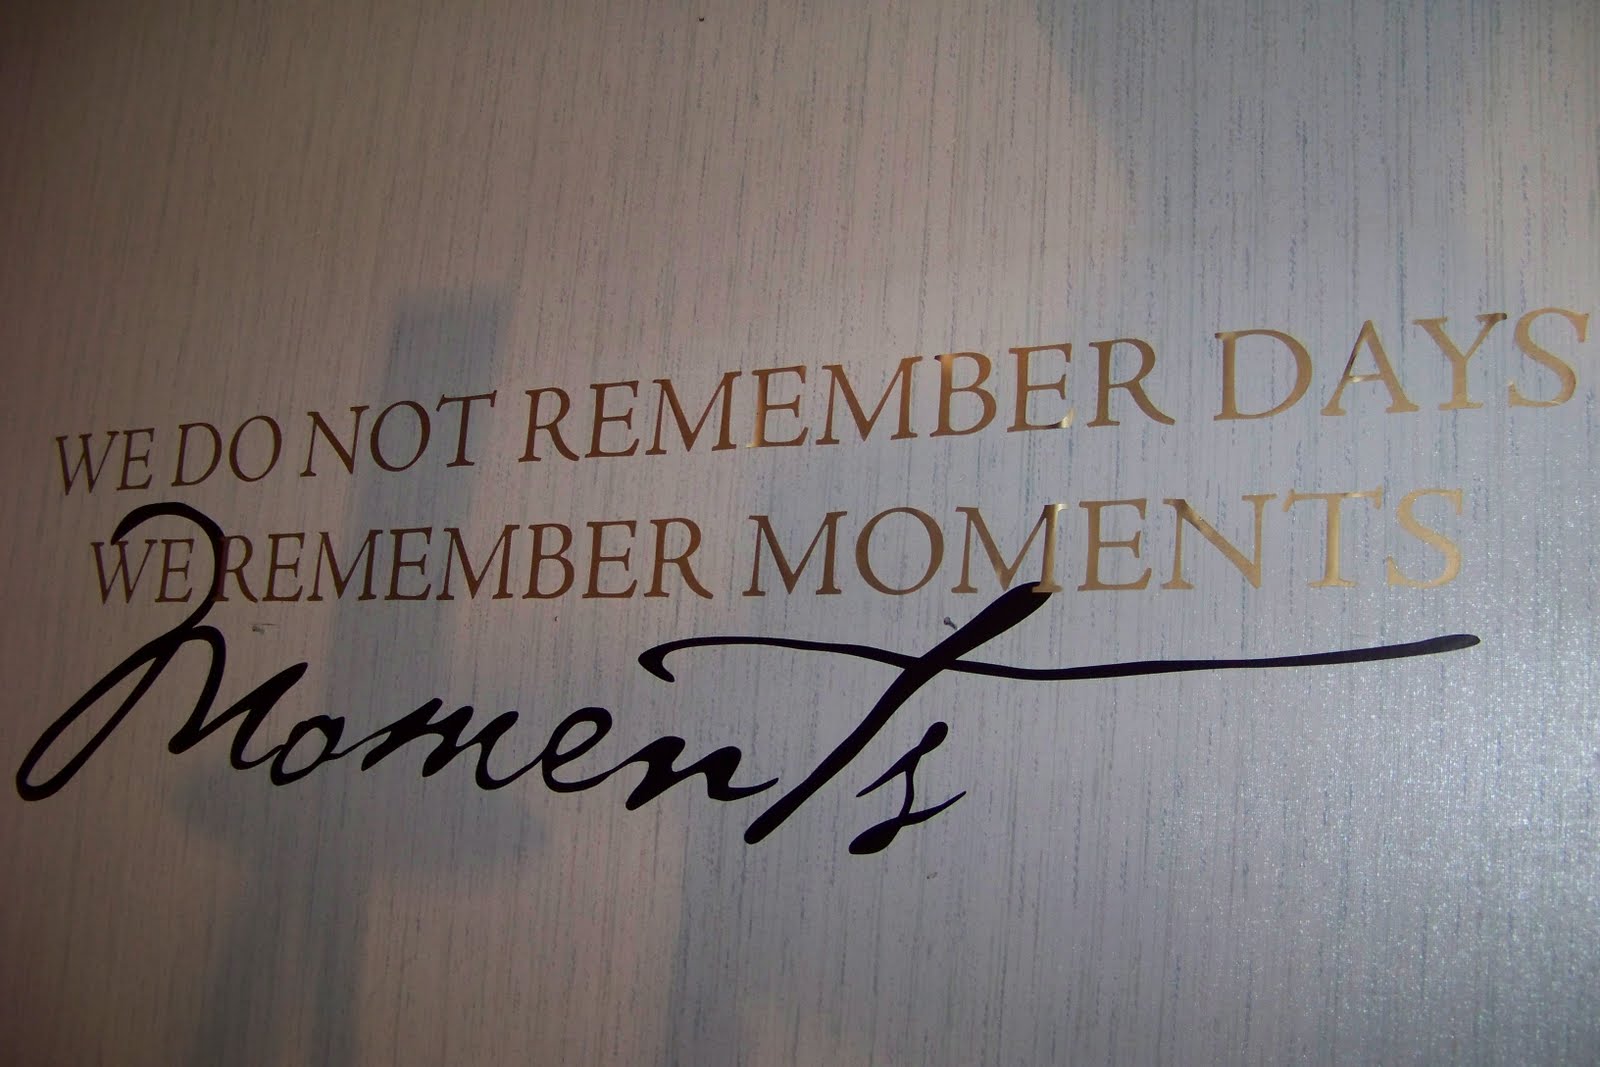
Vinyl wording on my dinning room wall


wood letters painted...then embellished with DT stickers


Used prints found online..and iron on printing paper...and made these
shirts for my kids to wear to school to show there support of
the Saints going to the SUPERBOWL-----GO SAINTS!!!


Chelsea turned 16....and she had a sweet 16 party....lots of candy
themed items....notice the candy bar...and giant lollipop?


I made these shirts for the girls to wear at the mall on their
scavenger hunt


I made the sunflower ground cover...and purple wreath for dad's grave


Pom Pom's....the new craze


Tissue paper flowers


Teacher gifts with school goodies


Large paper clips to hold together graded papers...used my QK to
cut out the circle and apple


Foam door hangers from the DT...and little bits and pieces from my
stash...and the kids made their teachers door hangers...


Kaitlyn's cheer birthday....the design was better in my head....the
pom-pom should have been smaller...and I think it would have looked better.


Fall decoration on the table


.....and on the mantel...all DT items....


White trash for a Halloween party...and a print out found online.....
I added candy corn and reece pieces for a festive touch


Halloween Treat Bag....
These are DT wedding party favor boxes...a little torn
paper and ink... and wiggly eyes...VERY EASY!!


Our advent countdown....the numbers are another free printable I
found online...each bag contains a little goodie...it was like opening presents
each day of the month...the kids LOVED it!!


A little Christmas decorating.....

I found both glass containers at thrift stores....the green filler
is from HL...but DT carries it now...and those ornaments were
.25 cents at another thrift store


This is hanging from my dinning room light....DT reindeer
and snowflakes


We made these as presents for each student in my kid's classes
this year...instead of giving candy! They were a big hit...even the teachers
loved them!!


OMC Button2

Wednesday, November 24, 2010

Win a FREE Quickutz Silhouette

Hello friends in blog land....Infarrantly Creative is a rockin blog with lots of great ideas and tutorials...but its even better...she is giving away to one lucky person....a Quickutz Silhouette!! OMG....this machine rocks!! It hooks to your computer....and will cut any font you have on your computer....or any clip art...not to mention all the GREAT sites out there with downloads....or you can get images from the QK website!! So what are you waiting for? ....go check out her awesome site!!

Saturday, November 20, 2010

The Sweetest 'Sweet 16' Birthday Party

This year my oldest daughter turned 16. She is a tom-boy....actually she really only resembles a girl in body structure...LOL ...and her favorite color would be camo! Well I just couldn't take myself to throw her a camo party....that's too boy-ish for me...so we compromised on a 'sweet 16' party situated around what most kids love....CANDY!!


I wanted lots and lots of colors....but no pink (of course)...so I went with all primary colors except I added lime green and aqua for some brightness. I decided to bring lots of color to the cake table...I made a balloon arch...well actually my dad did...he put sand in 5 gallon buckets..and anchored 1/2 inch PVC pipe in the sand...then he used 1/4 inch PVC pipe to make the arch so that it just slipped into the 1/2 inch....doing it this way really helped with transporting it to and from....because it all came apart at the end of the party. THANKS DAD!!! I made the cupcake toppers...I printed the logo through a regular MS program...and used my QK to cut out the scallop circle. I changed the color of the '16' to match the scallop circle.


On the table with the cupcakes was a 'candy bar'...with various candies....such as M&M's, Reece's Pieces, Skittles, Dum Dum Suckers, Marshmallow ice cream cones, candy sticks of various flavors, Cotton Candy...and of course the large swirl lollie pops! I even purchased ice cream scoops as the 'spoons' for the candy to go with the theme.
Each table had a different table cloth......and in the center was confetti...which I made by shredding colored paper....and a balloon weight (purchased at dollar tree) with the same scalloped circles attached that were on the cupcakes....(I was going to tie balloons to each...but ran out of time). Each table also had hot fudge sundae bowls with candy in them as well. If I had more time...I would have added candy bouquets as well...to add some more candy to the party!


There was a food table...my plan was to serve up the 'sweetness' Sweet and Sour' BBQ Buffalo Wings and Meatballs, Sweet Peas, Sweet Corn....along with desserts...but my daughter just wanted finger foods since the party was at 7Pm...and most would have already ate. So we had pizza rolls, BBQ Meatballs, Chips and homemade cheese dip, finger sandwiches....and beverages.

I also had a table set up with several pictures of Chelsea through the years...along with a 'sign in' sheet for everyone to sign or include 'Sweet 16' wishes for Chelsea. I will add this to her Scrapbook that I am making for her 'Sweet 16' year!


We played a few games...but mostly we just let Chelsea hang with her friends...because that is what 16 year olds want to do. :) Each guest got a bakery bag to take candy home when the party was over! (that meant less candy coming home with me... ;)

The next day we went to the mall and had a scavenger hunt of sorts....it was really more like a do certain things and take pictures game....along with shopping too. I made shirts for the girls...I placed candy on my printer scanner and scanned a background image....then added the same 'Sweet 16' that her party decorations had....but added...'Birthday Girl' for Chelsea...and 'Birthday Crew' for her friends. It was a hit...and everyone noticed...and wished her Happy Birthday.....and the girls had a blast!!
....Another option for the shirts.... I had each girl come up with a 'candy' name....like Goofy Goober or Luscious Lemon Drop...and they would have there names on the back of their shirts....but some friends weren't sure if they were going to get to go...so I chose to leave them blank!!
Almost all the items I used to decorate were from Dollar Tree...or found at Wal-Mart on clearance since her party was in Feb...I used lots of leftover Christmas decorations....like the large plastic candy canes that go in your yard. I took the red stripped tape off....added 2 foam plates back to back over the hook end...and covered with colored cellophane from DT....and there you have it...a giant Lollie Pop!! Chelsea loved this one...because it was purple. I also made large pieces of candy to go with my large suckers....by using toliet paper rolls and larger wrapping paper rolls.....and I wrapped them with the cellophane and tied off the ends with ribbon...they looked like huge pieces of hard candy!!


I can see party planning in my future.....!!

Sunday, November 7, 2010

Monday, October 4, 2010

Mummy Treat Holders

I bought these pre-made wedding favor boxes from the dollar store about a year ago to use as mini Easter baskets but didn't get around to making them. I inked the edges of torn white scrapbook paper....but you can use crepe paper, tissue paper, gauze, ...anything to get the 'mummy' effect. I then added wiggly eyes, some ribbon, a spider, and moss as a filler on the inside. Then just fill with candy....or Halloween goodies. Try making these to look like pumpkins, Frankenstein, bats, or a witch.....anything goes!!!


I am linking up with the following link parties.....go check out the great ideas!!


Decorating on a Dollar

I decided to do a FALL arrangement on my mantel this year....instead of the usual pumpkins and scarecrows that I do every year. I was checking out my favorite blogs as usual...and on Becky Higgins blog...she had showed an assortment of glass vases with various items. I loved this look....though I didn't have alot of money to spend. I started with the Dollar Tree....years ago...I would have turned my nose up at some of the decorations that they offered....because they really did look like they cost a dollar....but over the years the selection and quality has gotten so much better. All the vases, flowers, mini pumpkins and gourds, the pumpkin topiary, candles and holders...all came from Dollar Tree. The pine cones (DT carries these too)...I got from Goodwill....still a dollar. The green beads....and the branches with orange balls...came from Hobby Lobby....with a coupon or 50% off sale. This total arrangement was less than 10 dollars....I placed it in the center of the mantel..and added pictures of my kids on both sides...its the first thing everyone notices as they walk into the room. My goal was to use items that would easily be changed from FALL to CHRISTMAS....so that I wasn't spending more money in a few months. I will change out the flowers, ....add ornaments to the vase instead of the gourds....and add a Santa where the pumpkin topiary is....now I am ready for Christmas!!! I am not going to have to spend a dime more...because these are things I already have!! Thanks for looking....I hope you get some inspiration for your fall decorating!!


the colors are so vibrant...I had to turn on a light to get a clear shot...but there are lots of lime green and orange here.....


Pumpkin topiaries are a big hit this year....so I decided to try my hand at one. I purchased these 3 from the DT...I pulled out the stems on the bottom two, added some moss....to complete the look. I had intended on adding some nice fall leaves on top...but couldnt find any to my liking without spending wayy to much....so I will wait till after the season ends...and hopefully pick up some for next year. BTW...I did not hot glue mine...because they sat on top of each other without it...but you may have to hot glue if your pumpkins don't have a flat top!!


I am linking up over at Eighteen25's and CraftOManiac's link party....go check them out!!

Saturday, September 18, 2010

Flowers, Flowers, Flowers

My days and nights are mixed up...so I have been spening alot of time on the internet looking at home decor how-to's....and I ran across some really cute flowers that are super easy....and FAST to make.

1. This one...is made from cutting 8-10 (or more if you like)...scalloped circles from your paper of choice. They have many paper punches that offer a nice scalloped edge. Then you place a brad in the center...and then just pull up each 'layer'......until you get your desired look. I bent a few edges of mine too....but this is optional. You can even ink the edges right before you start pulling up the layers.....this makes a really cool effect too. I made some of these with KK...so she could use them on her scrapbook pages....I can't wait to see what she comes up with.

(The purple is made out of regular tissue paper.....the other is made out of scraps of scrapbook paper....but you could use...newspaper, pages from a book, notebook paper....anything....but I found that the thinner the paper...the easier it is to shape into the flower!!)


2. This is a POM POM...they are very popular when it comes to parties....did you know that? Well I didn't and I am in love. They are fairly easy to make. You take 8 sheets of tissue paper...general size is 20x30....line them up on top of one another and fold back and forth like a fan..... Then you tie the center with wire. Next you can round the edges....or cut them in a spike shape...(I rounded)....then just fan out the tissue paper.....it turns into a ball. I made 2 different sizes....but just cutting the tissue paper in half....so my size was 20x15.....HAVE FUN!!!

Saturday, September 11, 2010

A Mini Book

This is a new little mini book that I made a few years back at a make-n-take at Scrapfest. When I was moving and cleaning out boxes...I ran across it. I have so many ideas for this little mini book....I have decided to make this mini book about 'My Top 5 Favorites"....of course not counting my kids....I will have to do another book about them later... :) These 'things' will consists of my obsessions or weaknesses...as I like to call them!! I will post my completed book soon...this will be my project to complete while I am off the later part of next week!!


(p.s. I will post measurements and a 'how to' over the next few days too)


Friday, August 27, 2010

...another option...

Ok so I really like all the colors....but I want the room to have more of a girlie appeal...so I took out the blue...added a little purple.....

Monday, August 23, 2010

A Sneak Peak

I am currently in the process of turning the extra room into my scrap room...and getting my bedroom back to...well a bedroom...LOL
I decided to go with bright colors....lots of choices out there with Back to School stuff at Target and Walmart......
Its still a work in process....but here's a peak.....